Access Management
The Access Management module is responsible for managing users, roles, and permissions within the portal.
This section is used to manage each user's access and privileges according to their assigned role.
Permissions
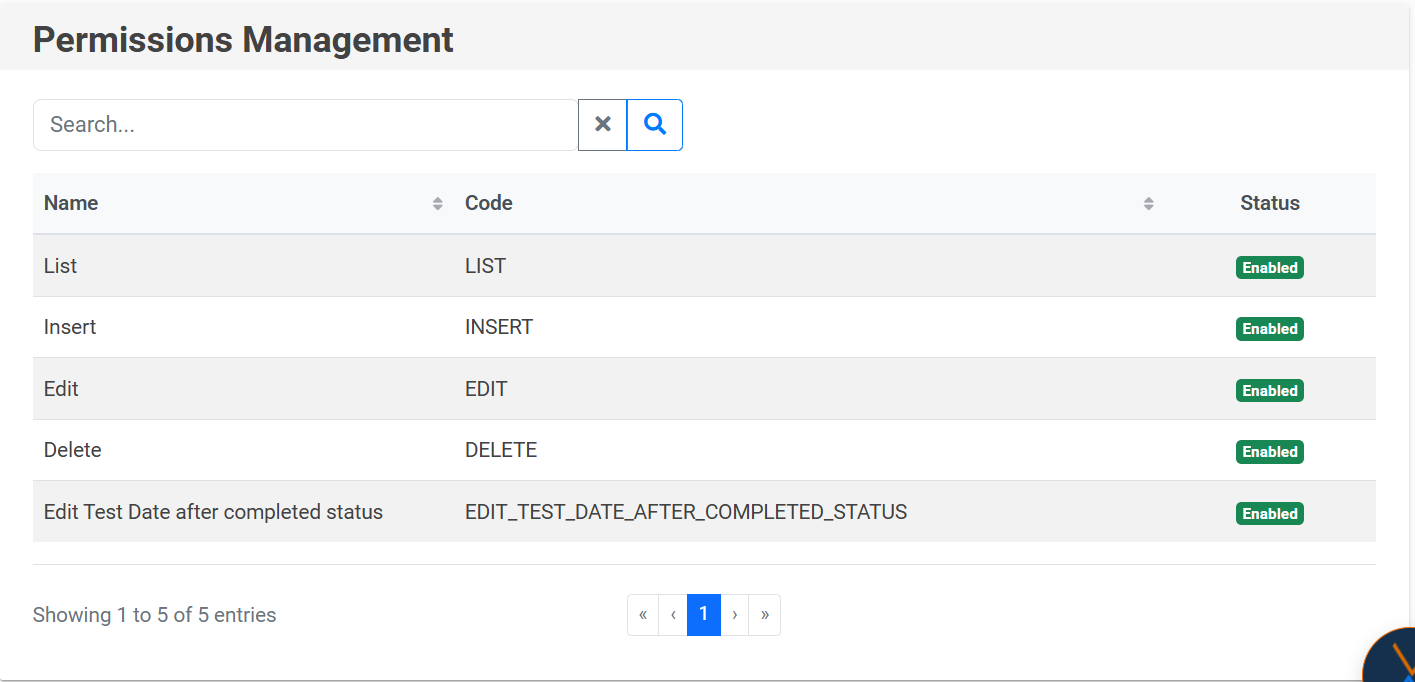
The Permissions section shows a detailed list of all the permissions available on the portal, indicating which ones are active and which ones are disabled.
IMPORTANT: If you want to create a new permission, you must notify the person in charge of NEXUS administration, as internal software development is required to associate that permission with specific elements of the portal.
To search for a permission, click on the magnifying glass icon 🔍, and to clear the filter, use the “X” icon.
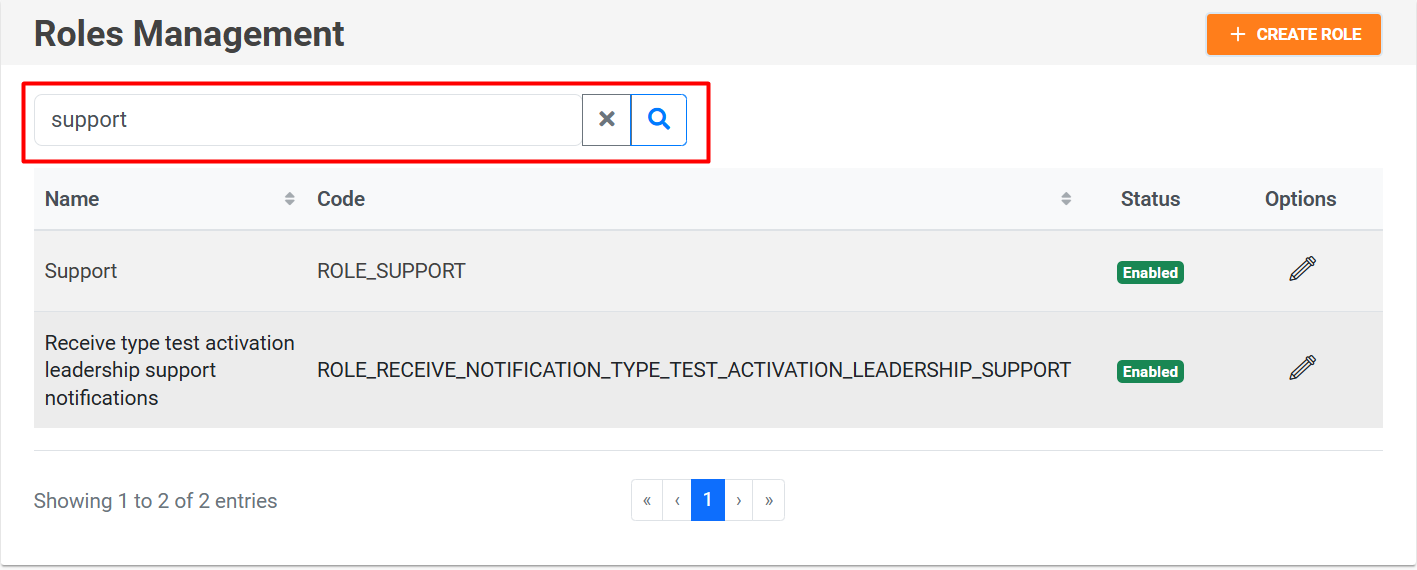
Roles
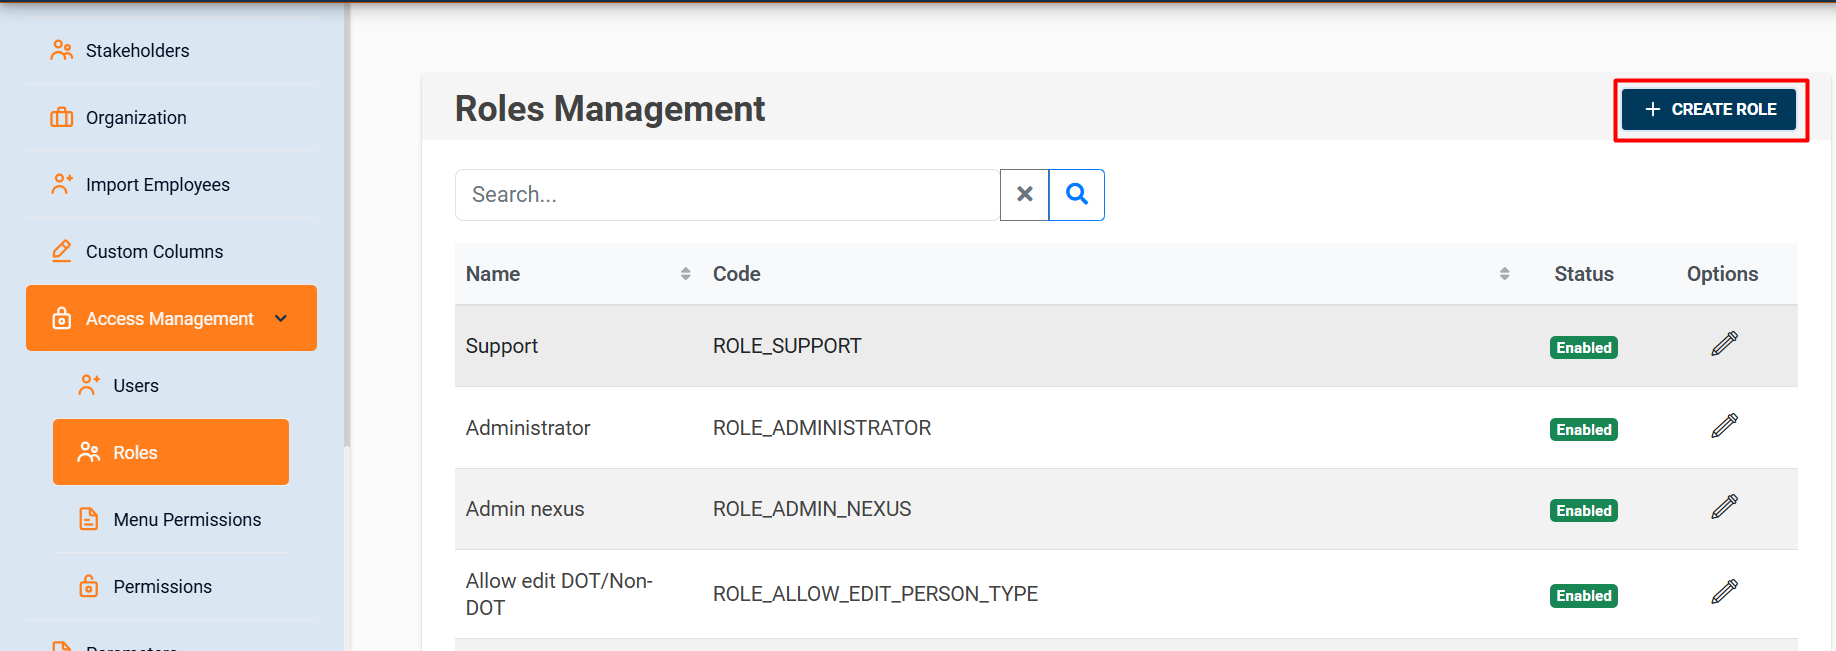
In the Roles section, you can create, edit, and list the roles that exist in the system.
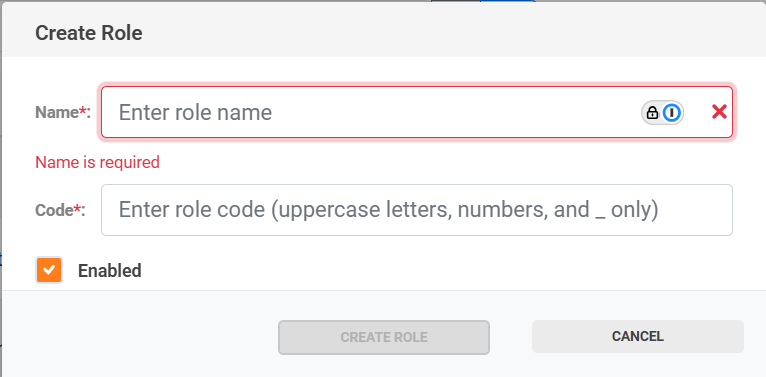
To create a role, you only need to provide the name and code. The code must be written in uppercase letters, and spaces must be replaced with underscores (_).
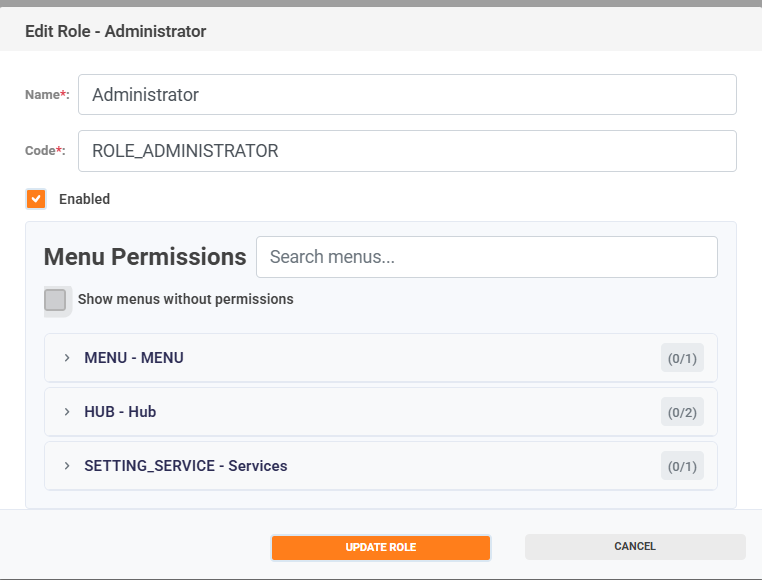
📝 Note: Permissions are assigned to each role using the Edit Role option.
In the Edit option, you can modify the information of an existing role, activate or deactivate its availability in the system, and assign the corresponding permissions according to the menu sections.
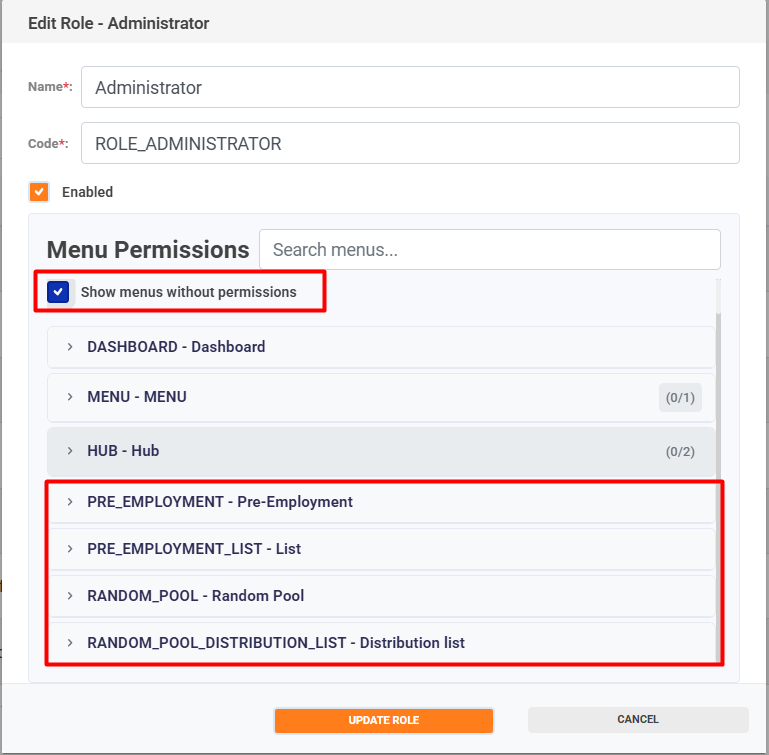
📝 Note: To assign permissions to a menu option, you must enter the Menu permissions (https://wiki.nexus33.com/books/4-settings/page/menu-permissions) module.
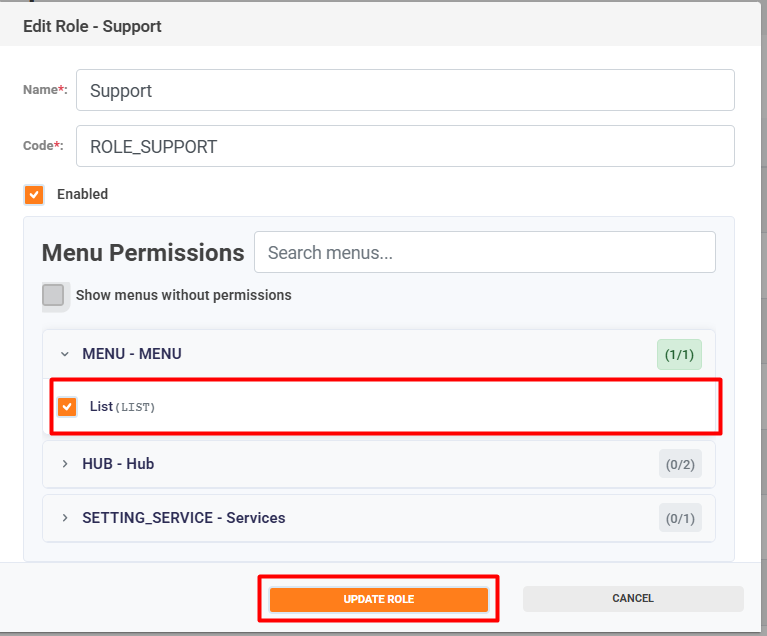
To assign permissions to a role, select the menu option; the available permissions will be displayed.
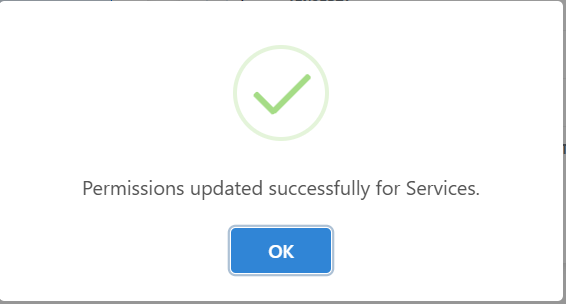
Check the box for the permission you want to assign and click Update Role to save the changes.
To search for a role, click on the magnifying glass icon 🔍, and to clear the filter, use the “X” icon.
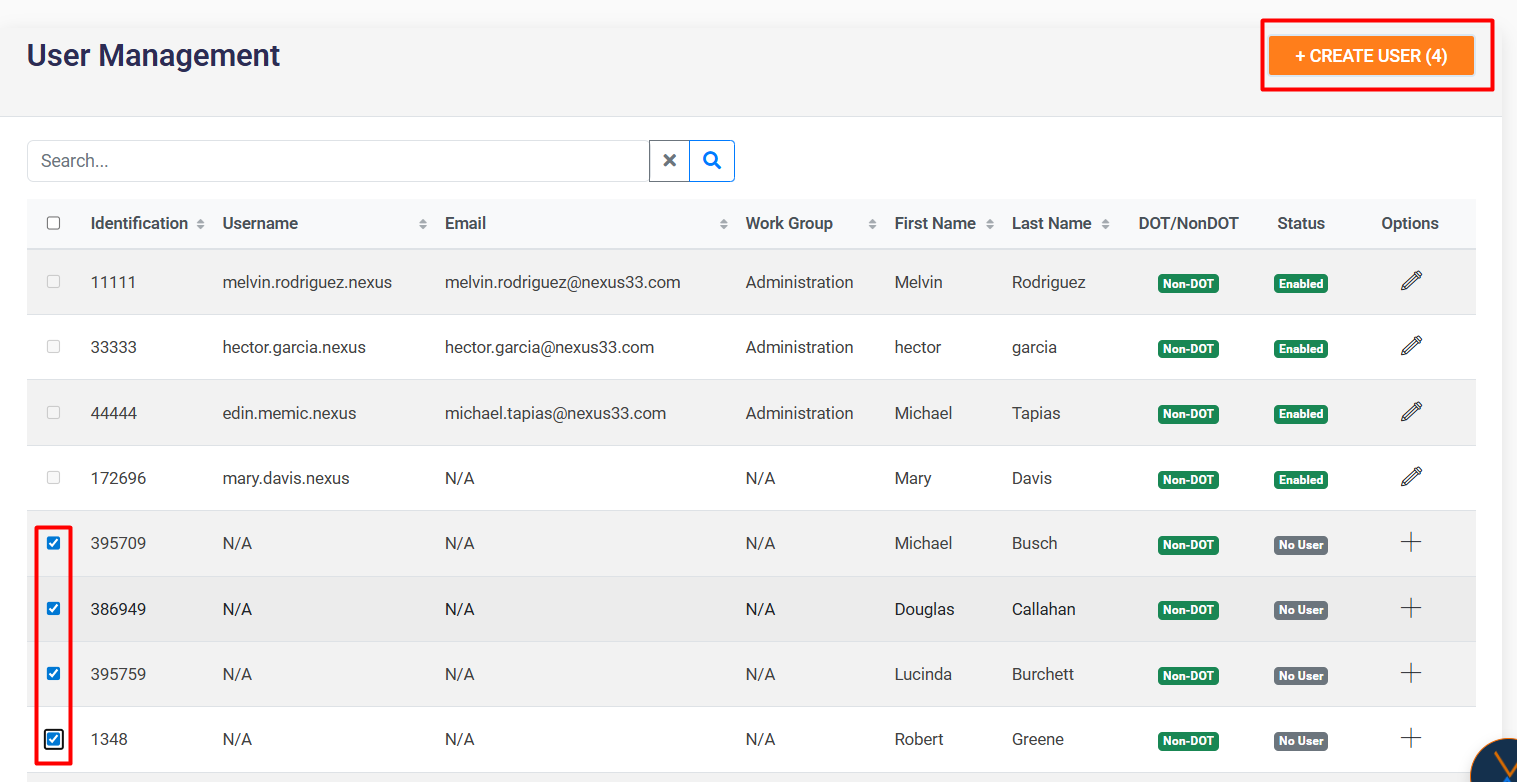
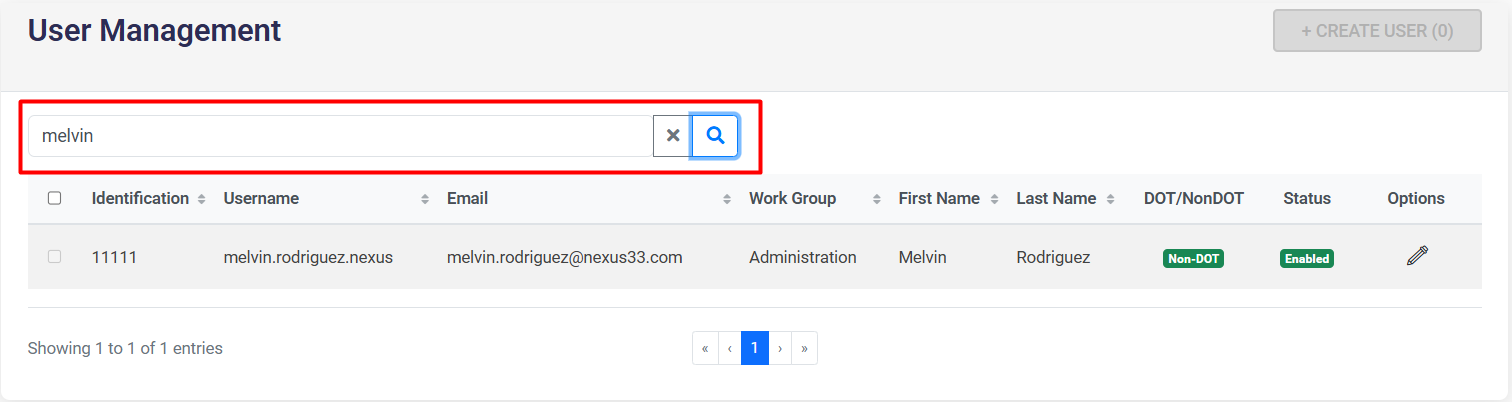
Users
In the users section, you can create, edit, and list system users.
Creating users
There are two ways to create users in the system:
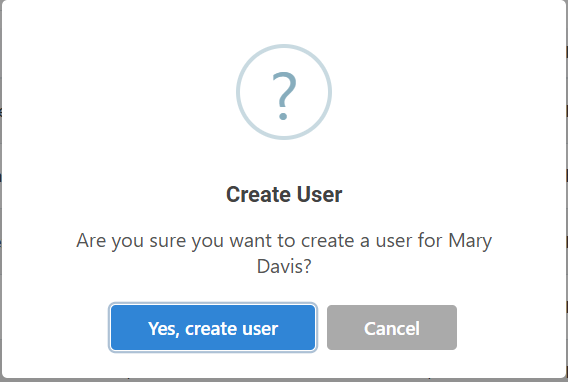
- Assign permissions to an existing employee:
- Select the “+” icon next to the employee.

- A confirmation window will appear to validate whether you want to convert that employee into a portal user.

- Once the credentials have been successfully created, a temporary password will be generated and sent to the user's registered email address.

- Select the “+” icon next to the employee.


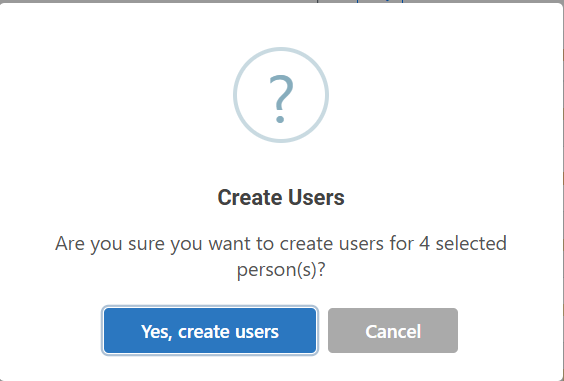
Creating multiple users
Select several employees using the checkboxes and click on the “Create User” button to generate multiple users simultaneously.
A confirmation window will appear to validate whether you want to convert the selected employees into users.

Editing users
From the Edit option, you can:
-
Enable or disable a user's access to the portal.
-
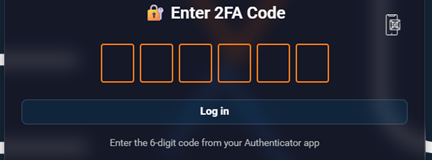
Enable or disable multi-factor authentication (MFA).
-
Enable or disable Show QR to embed the two-factor authentication app.
-
Configure the roles associated with each user.
-
Allows you to reset the password for portal users in case of forgotten or lost access.


📝 Note: If the user has never enabled multi-factor authentication, a QR code will be displayed when they log in for the first time, which they must scan with the Scanner Authenticator app.
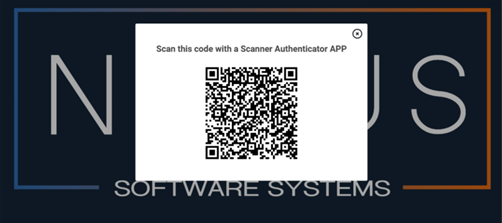
To view the QR code again, click on the cell phone icon 📱.
If you lose or change your device, you can re-enable the “Show QR Code” option to reconfigure authentication with Google Authenticator.
![]()
To search for a user, click on the magnifying glass icon 🔍, and to clear
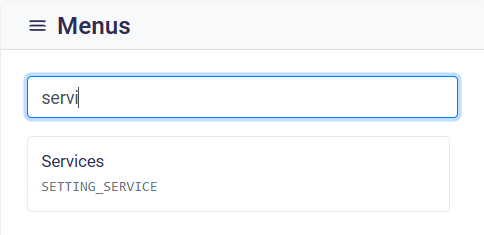
Menu permissions
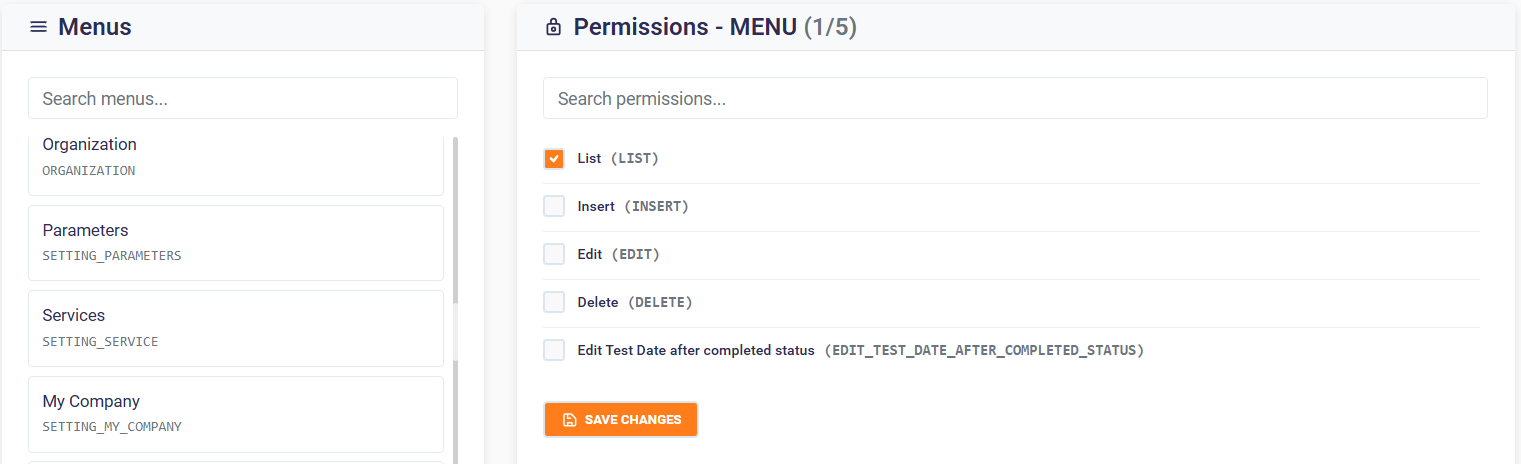
Using the Search Menus field, you can search for the menu option to which you want to assign permissions.